Module 42 : CSS Nesting with PostCSS – Writing Modular and Maintainable CSS

This module introduces the concept of CSS nesting using PostCSS, a powerful tool for transforming CSS with JavaScript. You'll learn how to write modular, maintainable, and cleaner CSS by nesting selectors logically, similar to how it's done in SCSS. The module will also guide you on how to set up PostCSS, structure nested styles efficiently, and avoid common pitfalls.
Learning Objectives:
By the end of this module, learners will be able to:
Understand what CSS nesting is and why it's useful.
Set up PostCSS with the nesting plugin.
Write clean and maintainable nested CSS.
Avoid deep nesting and specificity issues.
Integrate nesting into modular CSS architectures (like BEM or utility-first).
Use PostCSS nesting in real projects.
Section 1: Introduction to CSS Nesting
What is CSS Nesting?
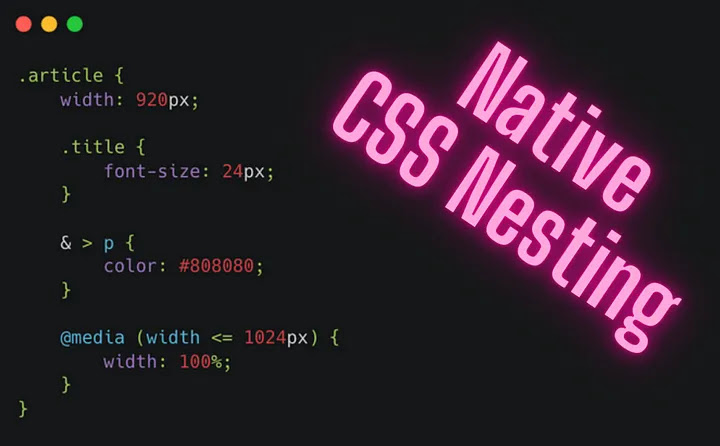
CSS Nesting allows you to nest selectors inside one another, similar to SCSS. This makes it easier to see the relationship between elements and maintain hierarchical styles.
Why Nesting?
Reduces repetition.
Improves readability.
Keeps related styles together.
Helps enforce a component-based structure.
Example (Vanilla CSS vs. Nested CSS)
Without nesting:
css
code
.card { ... } .card .card-title { ... } .card .card-body { ... } .card .card-footer { ... }
With nesting:
css
code
.card { ... .card-title { ... } .card-body { ... } .card-footer { ... } }
Section 2: Setting Up PostCSS for Nesting
Step-by-step Setup

1. Initialize a project:
bash
code
npm init -y
2. Install required packages:
bash
code
npm install postcss postcss-cli postcss-nesting autoprefixer --save-dev
3. Create a postcss.config.js:
js
code
module.exports = { plugins: [ require('postcss-nesting'), require('autoprefixer') ] }
4. Create a CSS file (src/style.css) using nesting:
css
code
.button { padding: 1rem; background: blue; &:hover { background: darkblue; } span { color: white; } }
5. Build CSS with CLI:
bash code
npx postcss src/style.css -o dist/style.css
Section 3: Writing Modular and Maintainable Nested CSS
Best Practices:
1. Limit Nesting Depth (Max 2-3 levels)
Too deep nesting increases specificity and becomes hard to read.
css
code
/* Bad */ .card { .header { .title { .icon { color: red; /* Too deep */ } } } }
css
code
/* Good */ .card { .header { ... } .title { ... } }
2. Use BEM with Nesting
Use nesting to simplify BEM syntax:
css
code
.card { &__title { ... } &__body { ... } }
3. Avoid Nesting Modifiers
Instead of:
css
code
.card { &.is-active { background: green; } }
Prefer using utility classes or parent selectors where possible.
Section 4: Practical Exercise – Building a Nested Component
Objective:
Create a reusable ProfileCard component using CSS nesting and PostCSS.
HTML:
html
code
<div class="profile-card"> <div class="profile-card__avatar"></div> <div class="profile-card__info"> <h2 class="profile-card__name">Jane Doe</h2> <p class="profile-card__bio">Frontend Developer</p> </div> </div>
Nested CSS:
css
code
.profile-card { display: flex; padding: 1rem; background-color: #fff; &__avatar { width: 80px; height: 80px; background: gray; border-radius: 50%; } &__info { margin-left: 1rem; &__name { font-weight: bold; } &__bio { color: #666; } } }
Refactored (Correct):
css
code
.profile-card { display: flex; padding: 1rem; background-color: #fff; &__avatar { width: 80px; height: 80px; background: gray; border-radius: 50%; } &__info { margin-left: 1rem; } &__name { font-weight: bold; } &__bio { color: #666; } }
Explanation:
Initially, the &__name and &__bio were nested inside &__info, which can complicate the hierarchy and debugging. Flattening them while keeping nesting under control improves maintainability.
Section 5: Exercises
Exercise 1 – Refactor Flat CSS
Take a flat CSS file and refactor it using PostCSS Nesting while following best practices.

Exercise 2 – Component Nesting Challenge
Given a UI component structure (e.g., navigation menu), write nested CSS using PostCSS.
Exercise 3 – Analyze and Fix Bad Nesting
Identify issues in a badly nested file and refactor it.
Section 6: Common Pitfalls & Debugging
1. Over-Nesting
Avoid .a .b .c .d .e {} type selectors.
2. Specificity Clashes
Avoid relying on nesting for specificity — use class names and utility-first approaches.
3. Plugin Conflicts
Ensure PostCSS is not using conflicting plugins or misordered plugins.
Section 7: Summary and Best Practices

Nest only when it improves clarity.
Keep nesting depth to 2–3 levels max.
Combine with BEM or utility CSS.
Always lint and auto-format nested styles for consistency.
Assignment (For Students)
Build a full UI component (like a card, navbar, or sidebar) using PostCSS with nesting.
Deliverables:
PostCSS config
Source CSS with nesting
Compiled output
A brief summary of nesting decisions made
Additional Resources
PostCSS Nesting Plugin Docs
MDN Web Docs – CSS Nesting
BEM Methodology


No comments:
Post a Comment